Following this weeks Lens-Artist Challenge on WP I was scrolling through some of the challenge posts. One of these was from /ˈsnæp.ʃɒt/. On Keith’s blog (it’s well worth spending some time there) I found a reference to taking pictures with a Game Boy console using a Game Boy Camera.

That really appealed to me, I’d never heard of that before, and I started researching taking images with a Game Boy and found this YouTube video about doing just that. From there I began trying to get my hands on a Game Boy and the camera. I’ve subsequently found a camera for £15 but sourcing a Game Boy Console is still a work in progress. They’re not difficult to get hold of, I’m just weighing up my options.
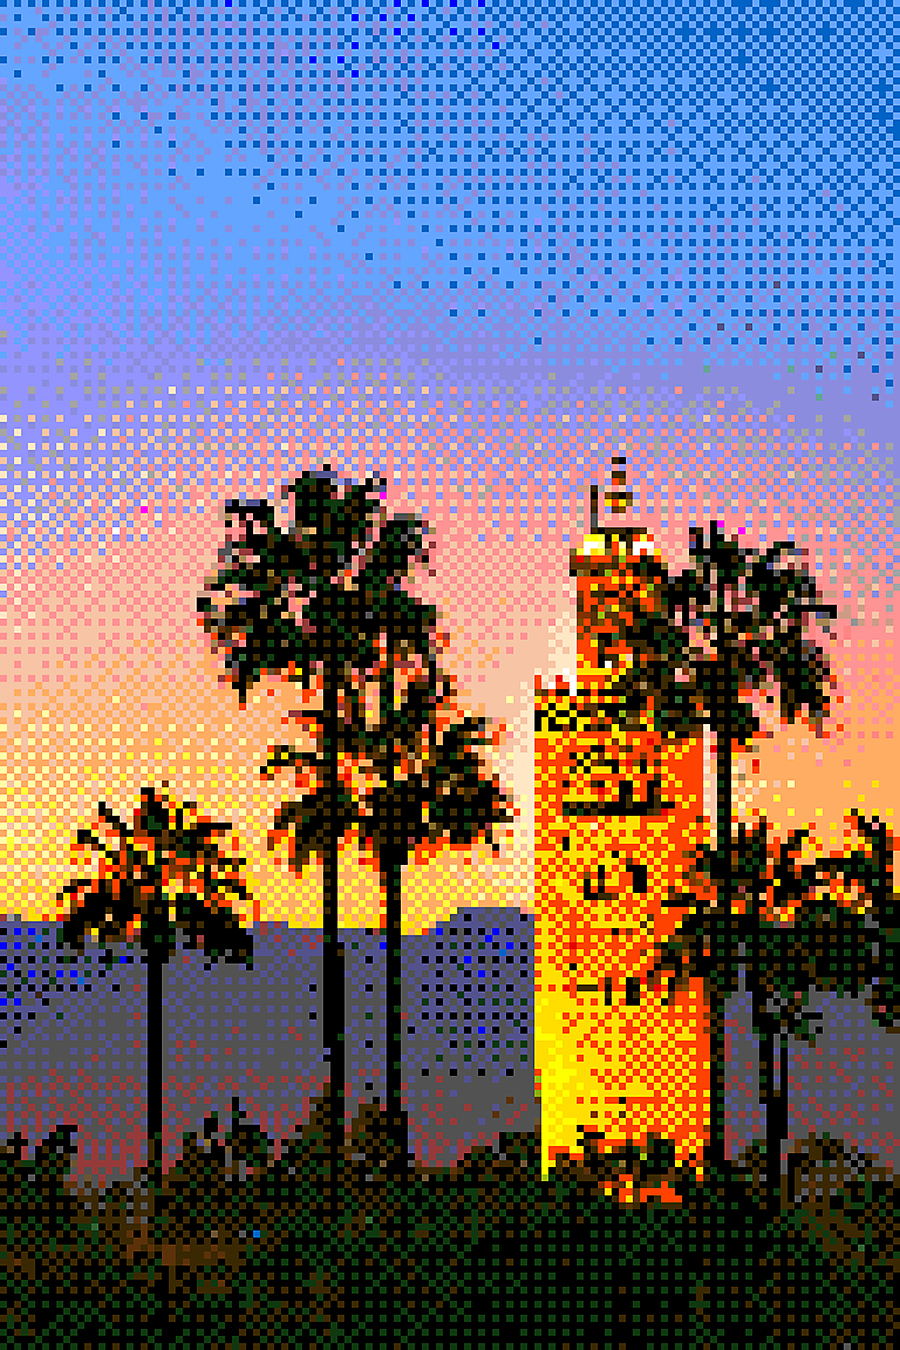
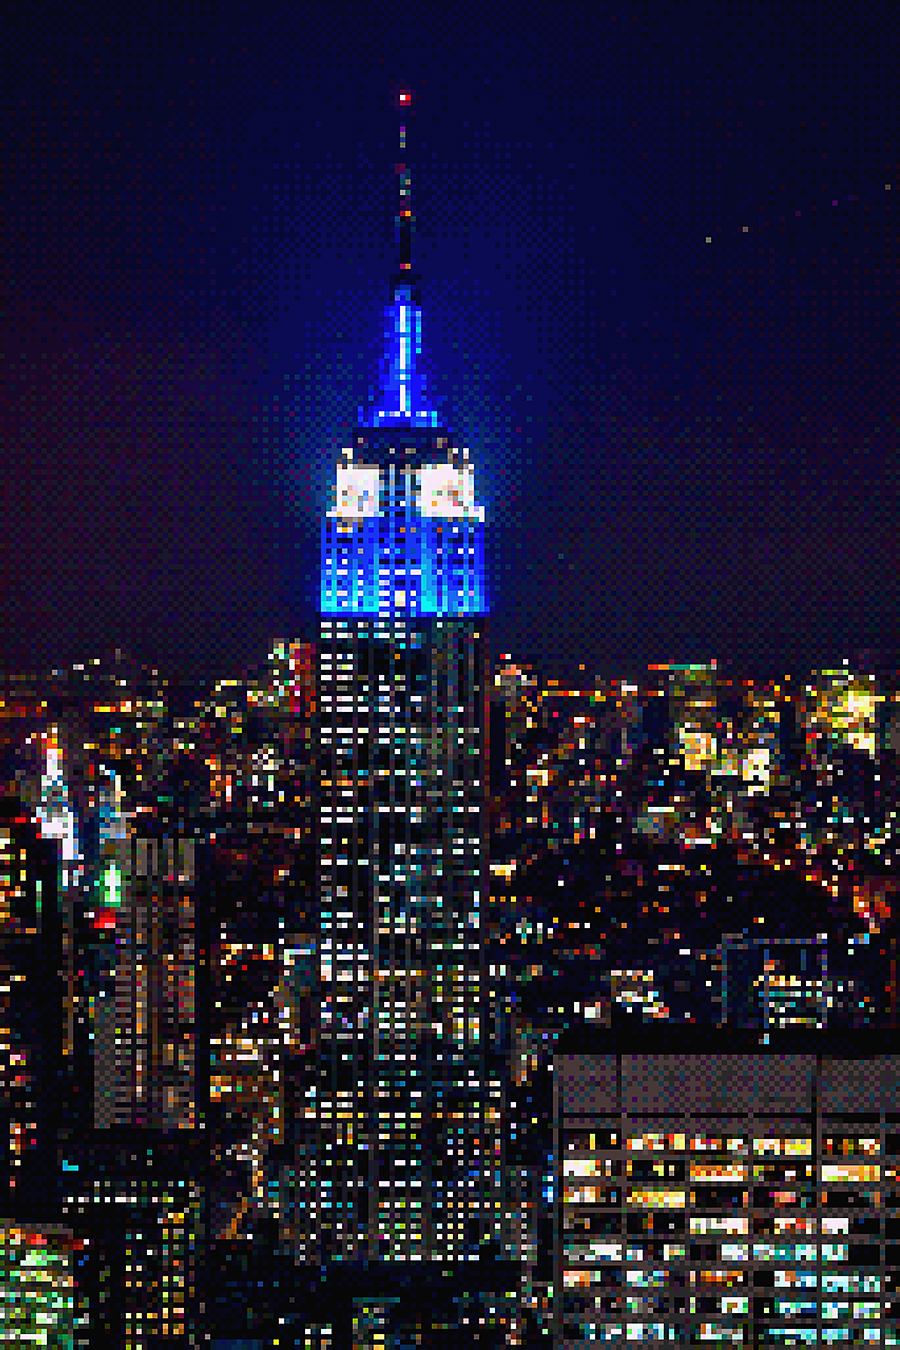
In the meantime I found an action set which replicates pixelated console images. It’s not as good as it would be using a Game Boy, to get the images, but It’s been quite good fun running a few pics through the actions. Some work and some don’t. Here’s a link to the action sets. Some are free and the bigger expanded pack costs $7. Pixel art Photo Actions. Hopefully I’ll be uploading some genuine Game Boy images, in a blog, sometime in the near future.
I’ve been a long time user of Photoshop Actions as part of my workflow when I’m post processing images. Mostly, I use actions I’ve created myself, for saving images when I’ve finished working on them. Using the action saves repeating a lot of photoshop processes, that are always the same, and it saves me lots of time. My most used ‘save function’ action runs like this:
- Change the image mode to 8bit (I do this because some actions further down the chain don’t work in 16bit mode. I’m not a techie photographer. I know nothing about 8bits and 16bits)
- Change the colour space to SRGB from Adobe. (SRGB looks better on screens)
- Save an image to a directory as a TIF (just in case I want to edit it after saving).
- Save another copy of the image to a directory as a jpg.
- Run another action (within this action) that optimises the image for Social Media posts (this is a free action, I downloaded from MCP called MCP Facebook Photoshop Action Set. It resizes the image to 960px on the longest edge, changes it to 72dpi and then sharpens the image for screens).
- Save the resized web image to another directory on our Apple Cloud account so I can access it from my ipad and phone.
- Close the image.
That’s seven processes completed in seconds. Actions are really simple to create, (its two mouse clicks and deciding on a name) and there are plenty of web tutorials on this.

I have a few action sets I’ve downloaded from the web. There are loads of them out there. Most are free and a bit of a novelty for a while but there’s a few I’ve used a lot. The MCP action sets for resizing images for web use has been invaluable, and its free. You can find it here: MCP Facebook Photoshop Action Set
All images: ©Stephen Hyde 2007-2025 – All rights reserved.

Oh this is interesting!!! I am of the game boy teen generation LOL and LOVED it! These are pretty cool – thank you for sharing!
Thank you Pamela. Here’s a funny story. I’ve just sourced a Game Boy Console. My daughter has one. Funny thing is I must have bought that for her, back in the day. I have absolutely no recollection of that or her even owning/using one! I was probably too wrapped up in my Commodore Amiga 🙂
Oh! Thank you for the nod! These images are wonderful, glad to see you’re getting into the Gameboy ‘aesthetic’. Welcome to the 0.014MP gang.
Thank you Keith. I really like your blogs and photography experiments. I dabble as far as using vintage lenses, that’s where my experiments end. I’ve just sourced a Game Boy, my daughter has one 🙂
Excellent!
If there’s anything I can help with, Gameboy-wise, don’t hesitate to let me know.
Thank you Keith 🙂