
So, having successfully opened up a Helios 44-2 and reversed the front element using a newly purchased lens spanner (blogged here), I decided to attack another couple of lenses this week. Things went pretty well initially but, I learnt a tough lesson through inexperience with these older lenses.
Firstly I decided to open up a Carl Zeiss Flektogon 35mm f2.4 that I own. I bought it as a serviced item. Trouble was, I later noticed that whoever had serviced it had left a partial fingerprint on one of the interior lens elements. I decided to try and get to the element and the short version of that story is it all went well and was pretty straight forward. The fingerprint has now gone and the other elements have had a clean.

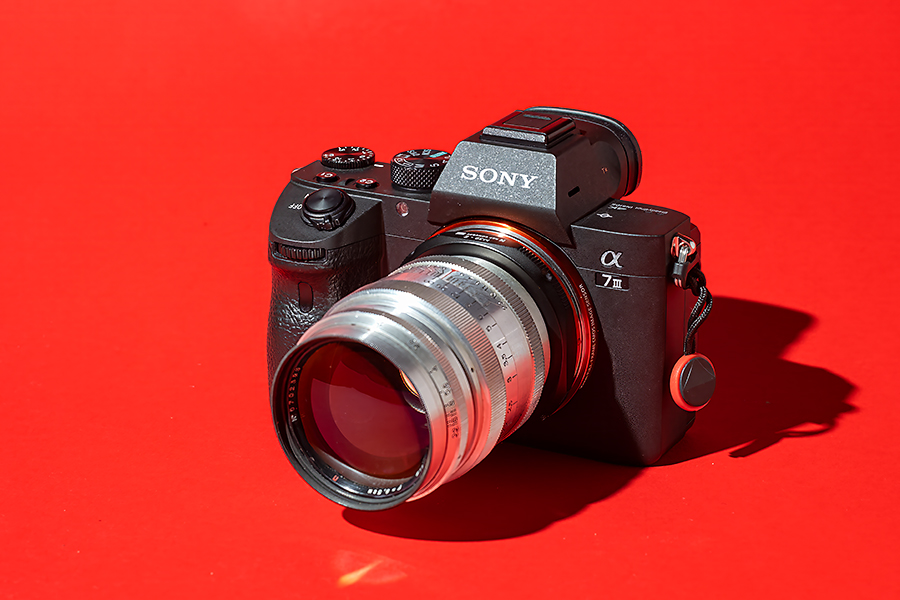
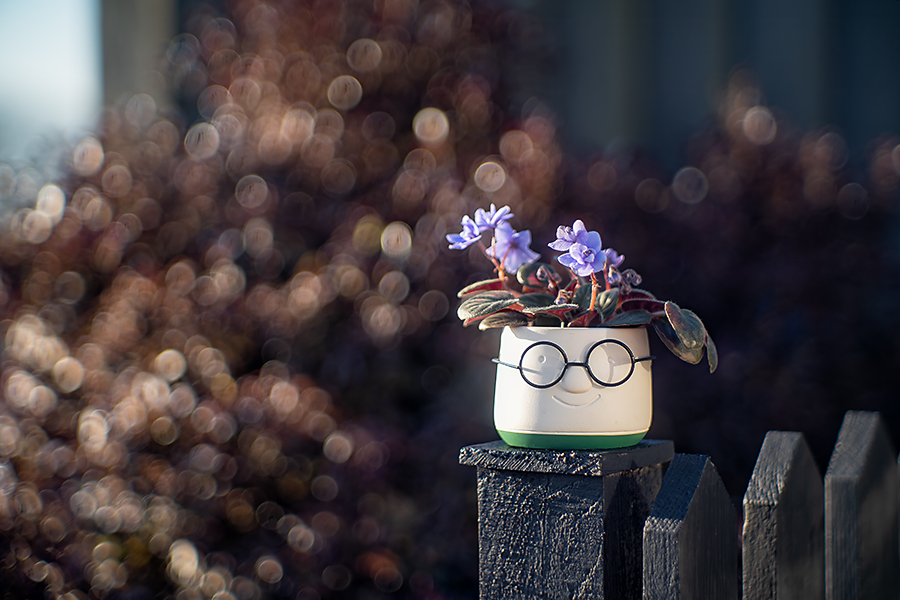
Bouyed by my lens servicing efforts I decided to tackle my 1957 Soviet Jupiter 85mm f2. This is a great, quirky lens, renowned for its soap bubble bokeh, shooting wide open. It also has a distinctive render to its images with that vintage look you either love or hate. On the downside, it has a long focus throw and pinpointing focus manually can be tricky.
My version was optically excellent but the focusing ring was really tight at certain points, making focusing even trickier. At some points it was so tight it would unscrew the lens from the adapter. A bit of research pointed to the problem probably being old, impacted grease in the helicoid, so I decided to strip it down and give it a clean.
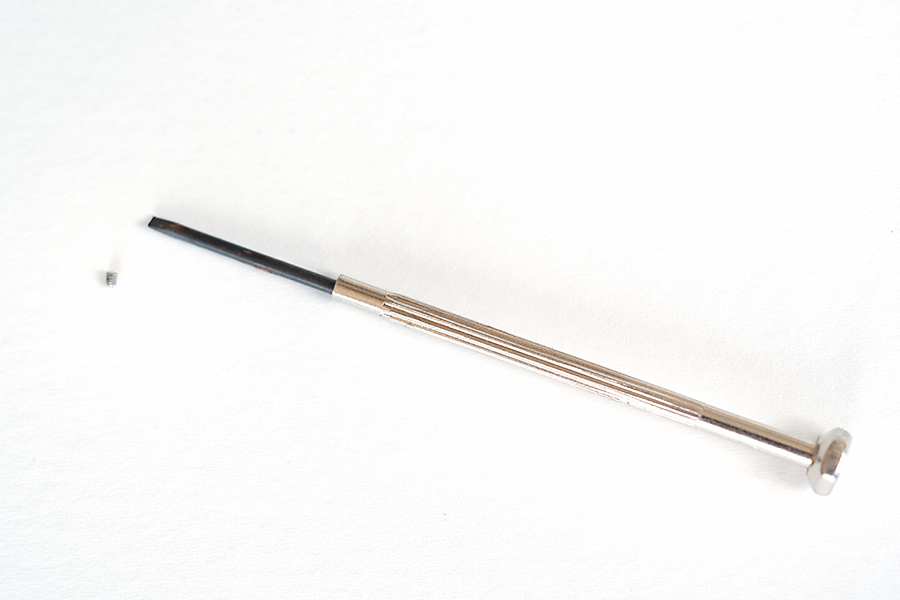
I found a really good tutorial for stripping this version of the lens on YouTube. The video is here – Retro Foto House. It looked a like a challenging job but I thought if I take my time and follow it through I can do this. So, armed with some tiny screwdrivers, isopropyl alcohol, cotton pads and helicoid grease, I started stripping down the lens helicoid.
All went pretty well but the grub screws used to hold the silver trim parts were so tiny. They were tight as well and this is where my problems began. Some screws came out ok but others broke on the slotted head, meaning I had to remove them with tiny pliers. These screws are nearly seventy years old and I guess this was to be expected. Trouble was I didn’t have a backup plan for replacement screws.
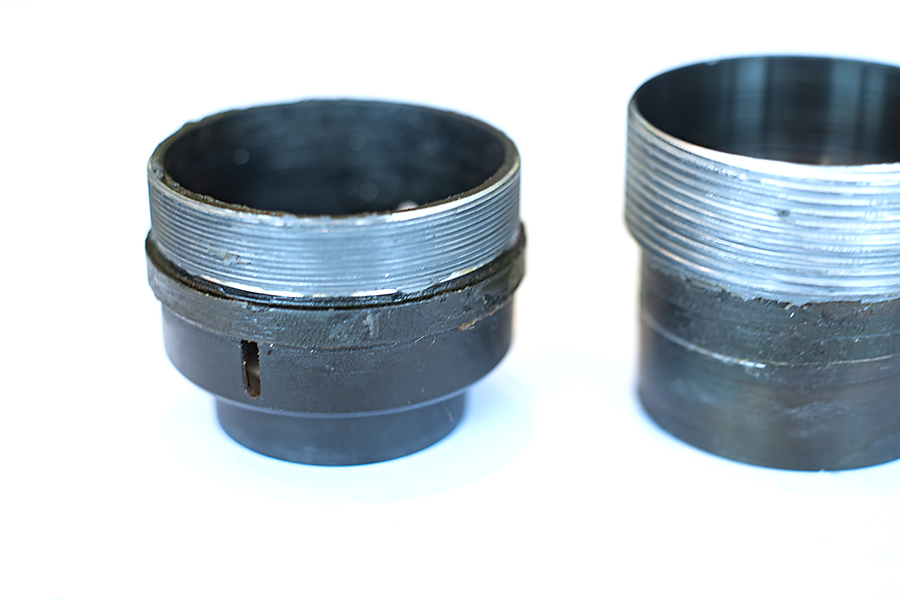
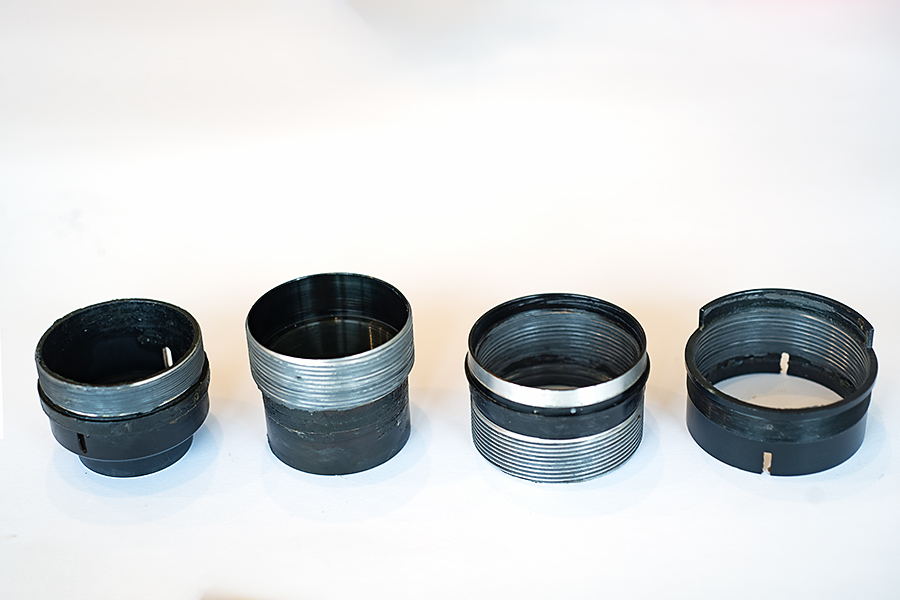
I was at the point of no return by this time so I carried on stripping down the helicoid into it’s four separate sections. As each section came apart, I had to make re-assembly marks for lining everything, up to ensure once back together it focused at the infinity point. I took my time, following the tutorial, and really enjoyed the disassembly section.
Once all the sections were separated the cause of the tight focusing ring became pretty obvious. As suspected, it was the fault of some old impacted grease. I don’t know if this helicoid had been opened up prior to my service. There were no marks inside to suggest that.
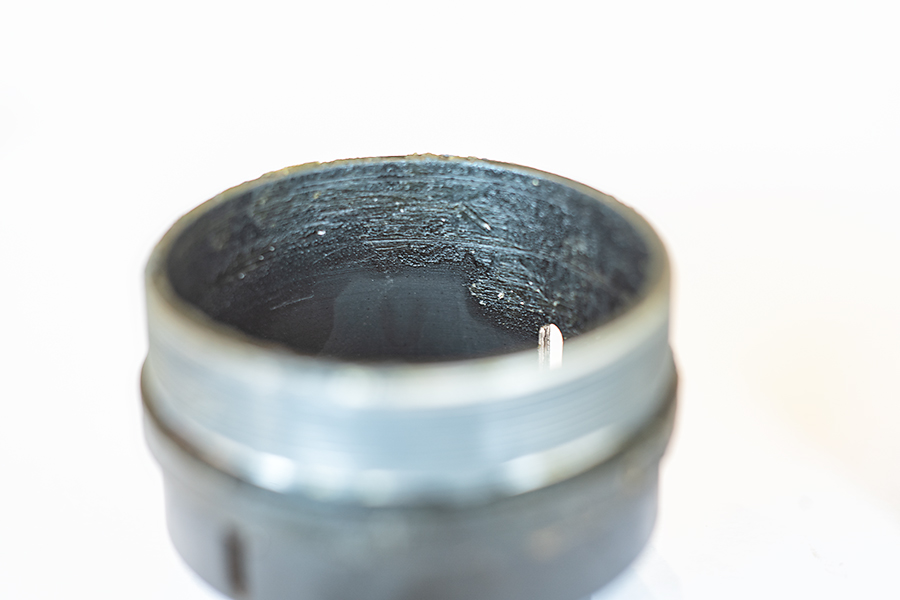
Everything needed a good clean. Cotton makeup removal pads soaked in isopropyl alcohol worked well for that. My wife doesn’t know I used her makeup pads yet! That’s a story for another day. The pads and alcohol worked well and I soon had the old grease off. It took about fifteen pads and its a dirty job. I don’t know how many times I washed or wiped my hands.
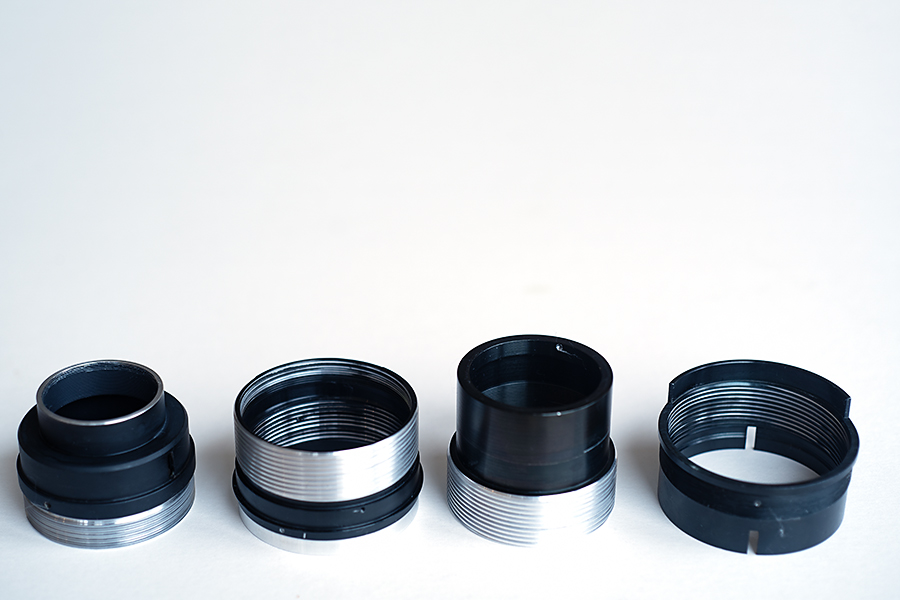
So, with cleaned up rings and helicoid grease applied to the screw thread of the first and second sections, I started the re-assembly. I’d say that this section was fiddly and quite frustrating. The marks I’d made earlier had to line up and the focusing ring kept set to the infinity marker. The threads on each section have several sections where the thread can catch but only one will work to make everything line up. This meant lots of screwing and unscrewing until I hit on the right thread start point. The guy in the video has the same problem.
Re-assembly took about five times longer than taking the thing apart and the helicoid grease gets everywhere. I persevered though, through to the lens cover assembly, which is where my lack of screws became a problem. I had no option but to miss a few holes and use the good screws I had left to make things as secure as I could.
Late yesterday, once the lens was re-assembled, it became apparent that I’d obviously got something wrong inside the helicoid. Everything was working smoothly but the lens assembly was unscrewing from the helicoid. When I turned it too far and the infinity marker on the lens didn’t line up, the trim screw holes were out of place.
I’d had enough by then so I put the lens to one side and then came back to it this morning. I stripped the helicoid down again, followed the marks and tightened a few screws and re-assembled it. All went well this time and I was a lot quicker second time around.
This time the infinity marks and screw holes did line up and the lens is working really well. The focusing ring is nice and smooth. I’m just concerned about the trim with lack of grub screws holding it to the body. I’ll just have to be super careful using the lens.
This was, eventually, a really rewarding experience but, at the same time immensely frustrating. I know now that having good light, and a lighter touch on some of the screws is important. Trying to place those small screws last night was impossible. I don’t know what to do about the missing screws. I can’t buy seventy year old Russian grub screws so I’m thinking that I’ll look out for an old Jupiter lens to strip for parts and hope my lens holds up in the meantime.
I’d do it all again and be prepared to try another lens service. In this instance the service needed to be done and no one else was going to do it for me, so I had little choice anyway. I’ll update my blog if I ever source some Russian screws, but in the meantime I have my Jupiter 9 working better than ever which feels really good.
All images: ©Stephen Hyde 2007-2025 – All rights reserved.
